
Testing A Target
Place the Mode switch to “TEST” on the main circuit board. Choose a primary color target like a red ball. Turn on the LCD, CMU-01 camera and main circuit board power.
The LCD should display “C-Bot Tracker” upon start up. Check the LCD panel you may need to adjust the contrast to see the text information, see figure 14.

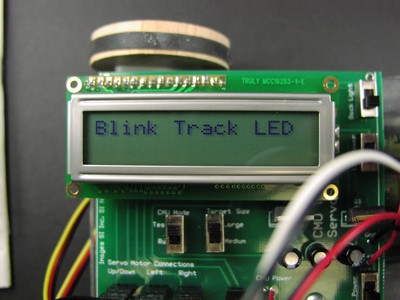
The next LCD display will say “Blink LED”, see figure 15. The green LED should blink several times with a time period of 200 milliseconds. This establishes that the communication link between the PIC microcontroller and CMU-01 is working properly.
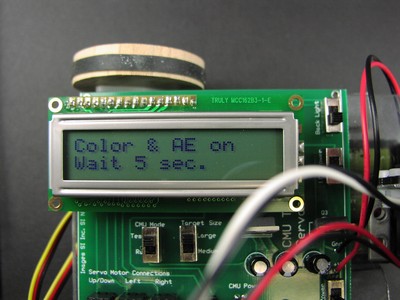
The next display states "Color & AE on" on LCD line 1 and "Wait 5 sec." on LCD line2, see figure 16. The CMU-01 camera should be facing a blank wall to help it adjust for the ambient light.
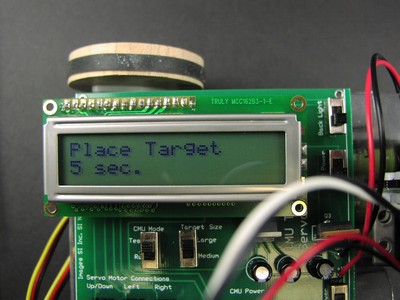
The next display states "Place Target" on LCD line 1 and "5 sec." on LCD line 2, see figure 17. In addition the green LED will blink ten times with a period of 500 milliseconds. You have five seconds to place your target object in front of the CMU camera lens.
The next display states that the target is captured.