As with all my projects I apply the formula: I = ER3 and here E equals effort, and R equals research. So research, research and more research! I first define what I need, and then I see what other hobbyists have produced, and then I review the commercial designs. The best sources of information are the “Application Notes” published by the relevant electronic device manufacturers. These contain a plethora of useful knowledge. With all this knowledge at hand, I then build something to suit my specific requirements, taking into consideration potential future requirements. However I never build something to work at or near specification. I always give my creations plenty of room to move in, and by this I mean if the circuit must deliver two amps of current continuously I make sure that it can easily handle twice that amount. Reliability and good workmanship are very important to me.
What I hope I do with all my adventures into electronics is to show that the humble hobbyist can create some first-rate equipment without having a first-rate electronics laboratory or plenty of money to spend. All that is needed is an educated mind, an observant pair of eyes and a willing pair of hands. Here, patience and attention to detail are your best friends. An inexpensive DMM is the only mandatory test equipment need to do the work described in this project. An Oscilloscope with a modest bandwidth of say 20MHz would be very useful too.

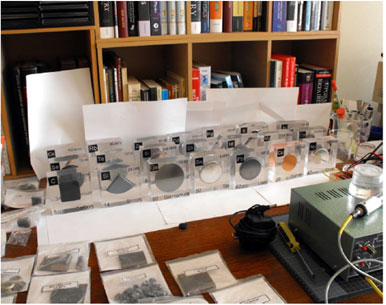
And why it is done, some of my elements. The first 21 blocks made. Each block is 100 mm x 100 mm x 40 mm in size. These were done on the kitchen table literally – sanded and polished by hand, including the labelling – not bought!! The least amount encapsulated is 10 gram for Cesium and the most is 500 grams for Cadmium. Since the photo was taken another 21 have been prepared.

